

Options abound at Medinah #1’s short par-4 13th
Tom Doak and the Renaissance team did a commendable job with their renovation of Course One at Medinah Country Club. They took a course that was not particularly noteworthy and infused strategy and artful flourishes into almost every hole. The par-4s from the 11th through the 14th are a strong stretch that is a joy to play.
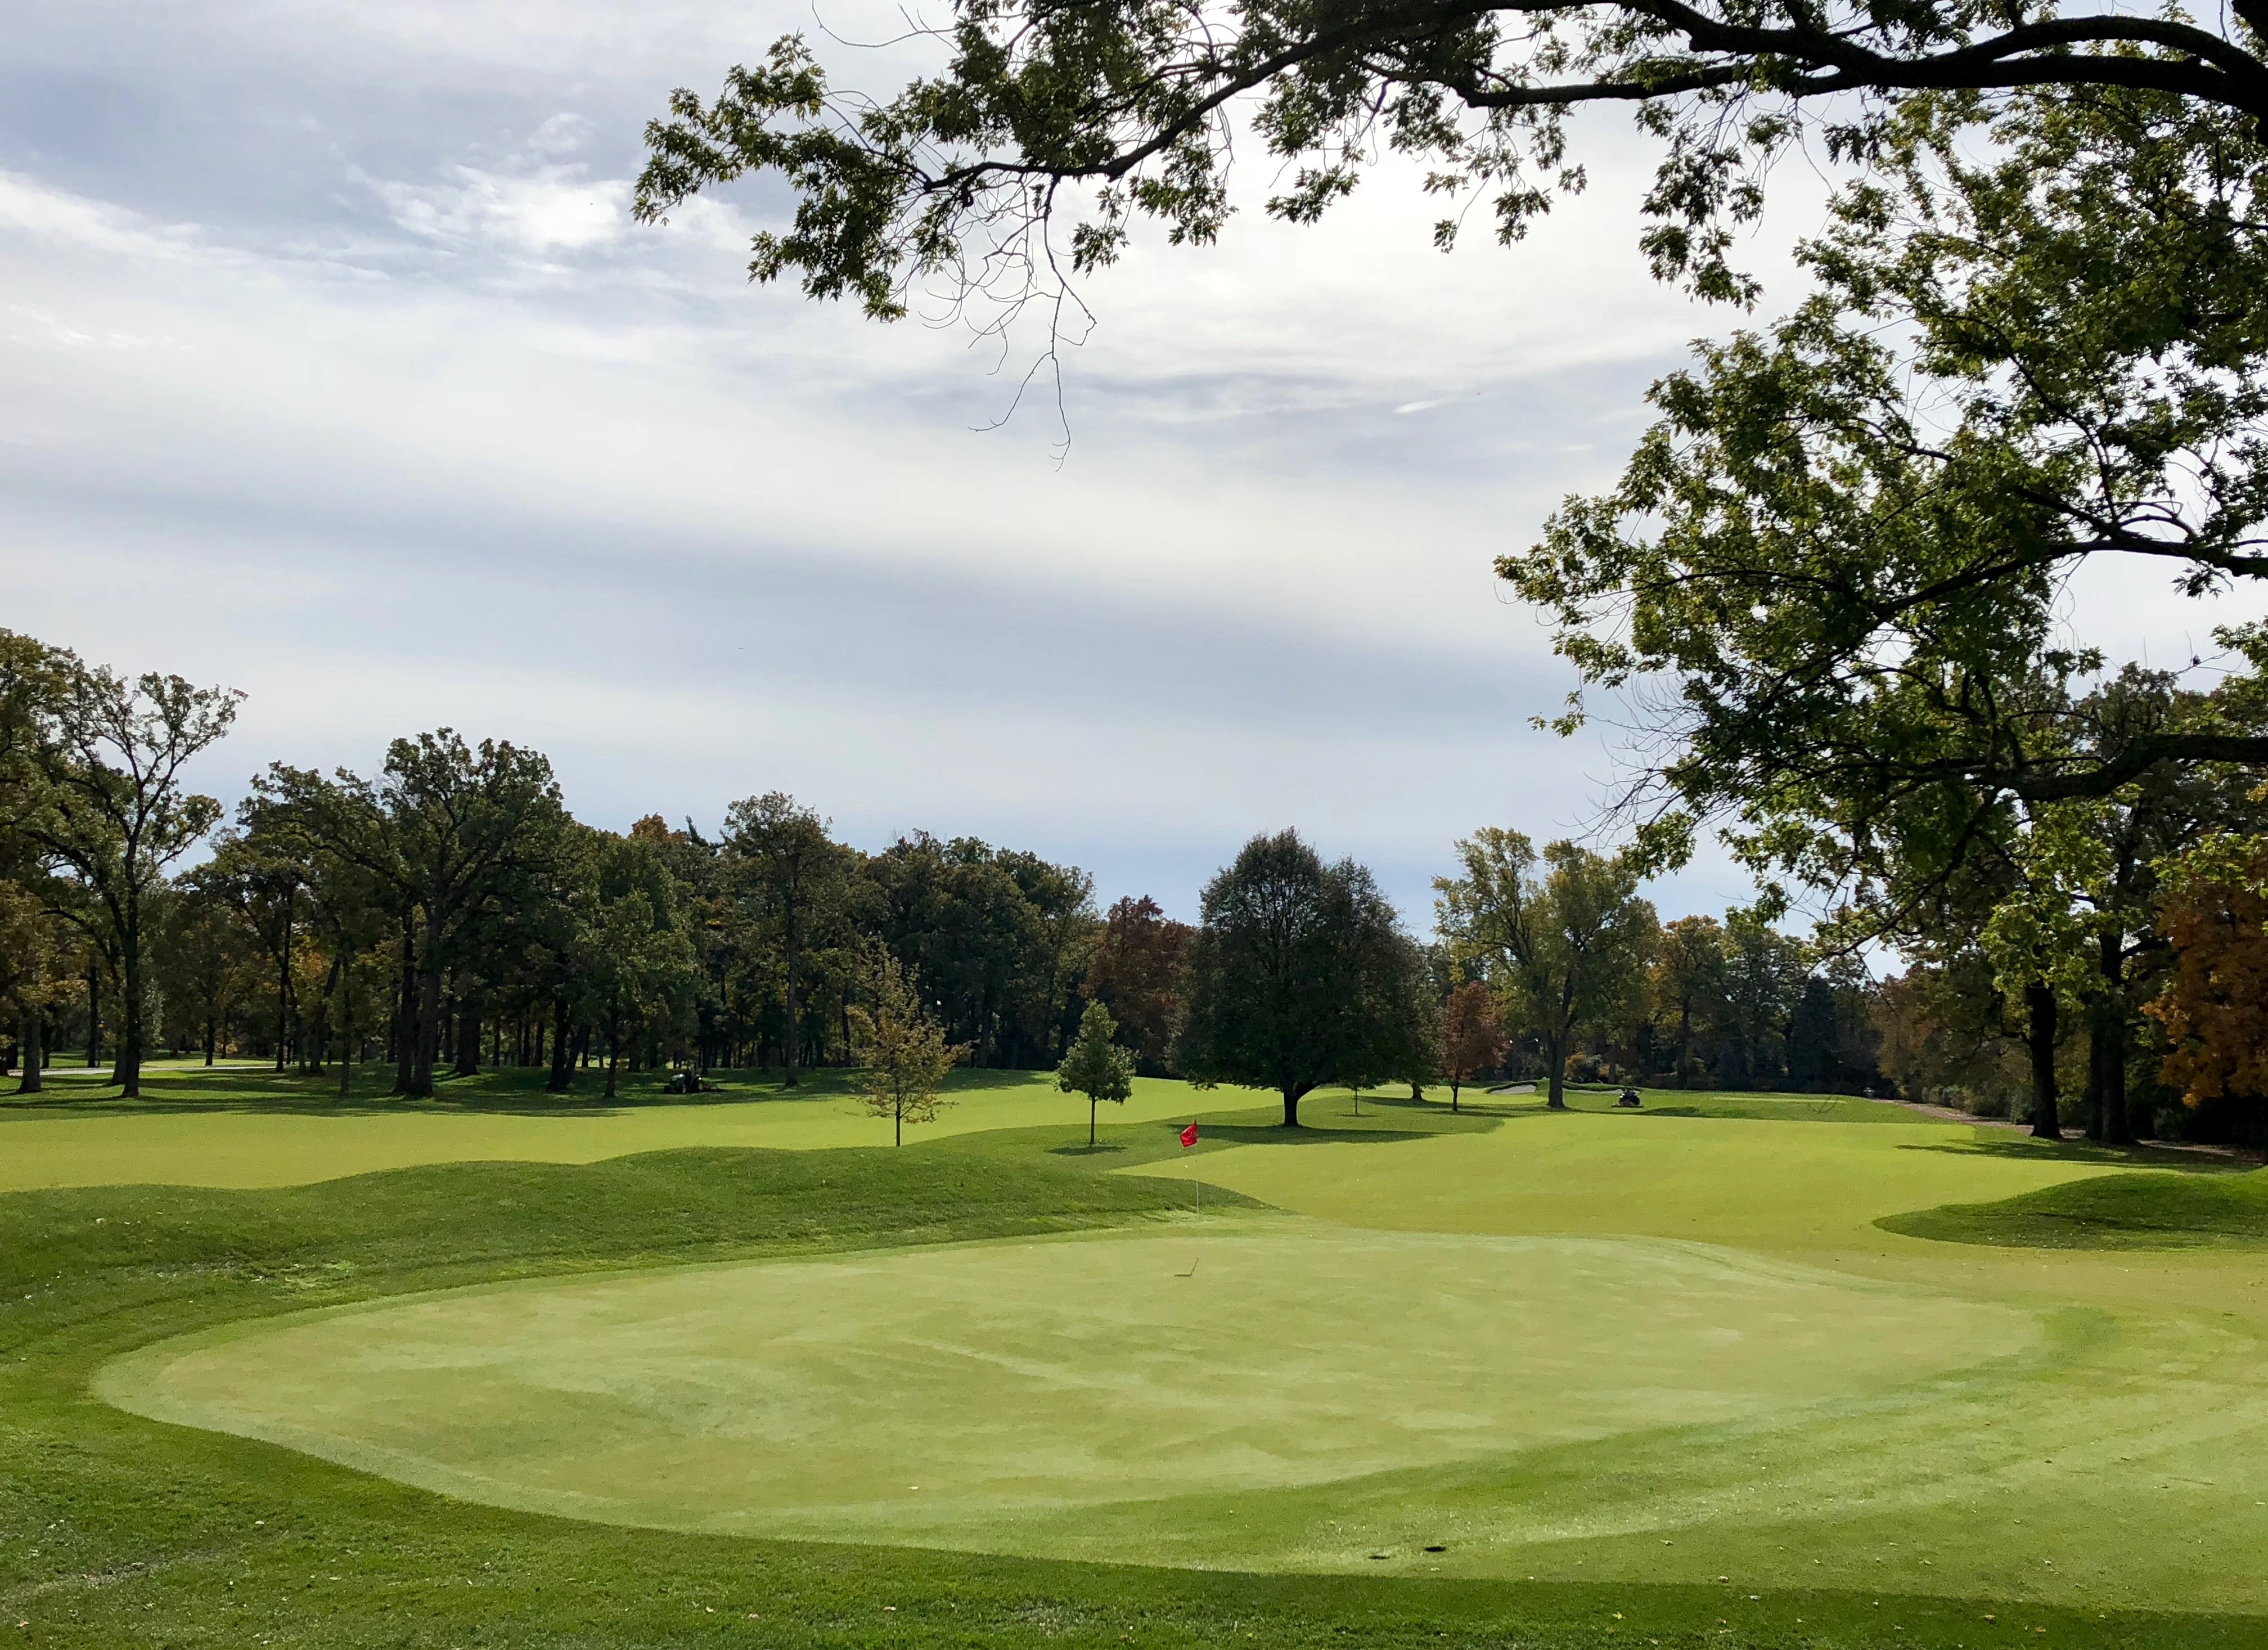
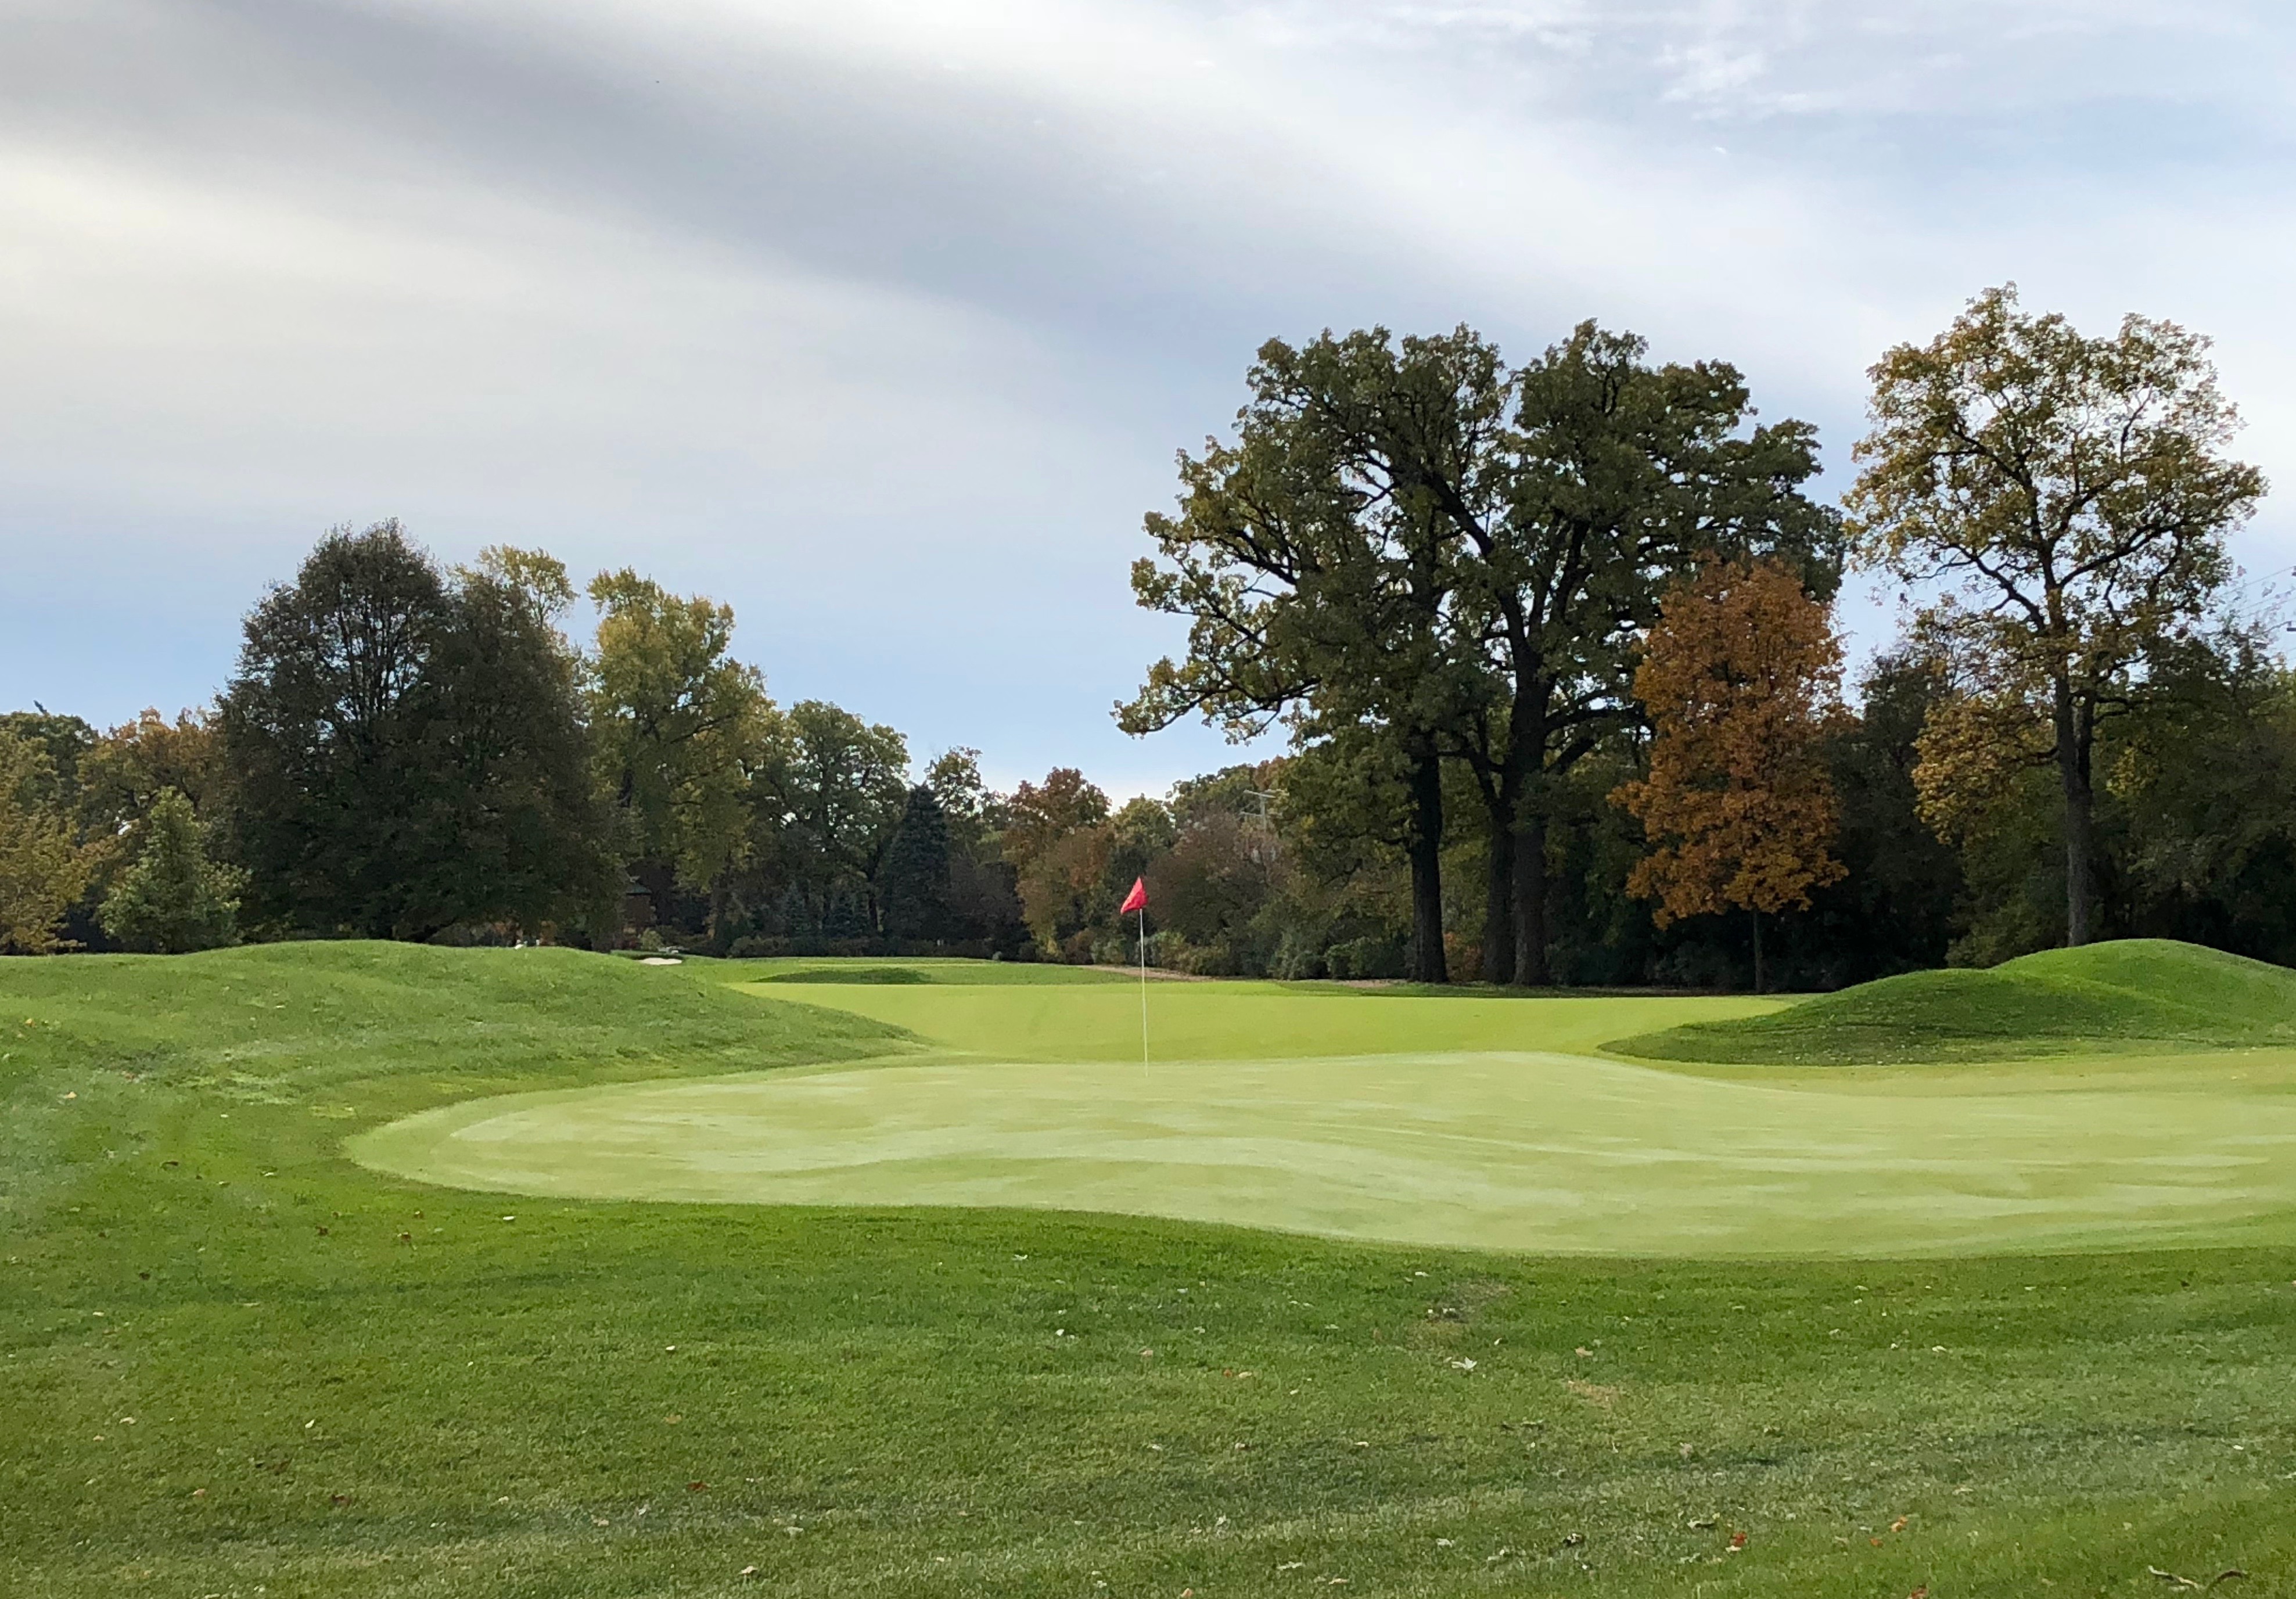
Take the short 13th, which tips out at 312 yards, but typically plays under 300 yards. The exceptional green complex dictates strategy all the way back to the tee. A large mound protects the green along its right flank. The putting surface is divided into two tiers – an upper right and lower left. A steep slope separates the two tiers. A closely mown run-off extends from the low left side of the green that causes misses to scurry away, leaving interesting options for recovery.
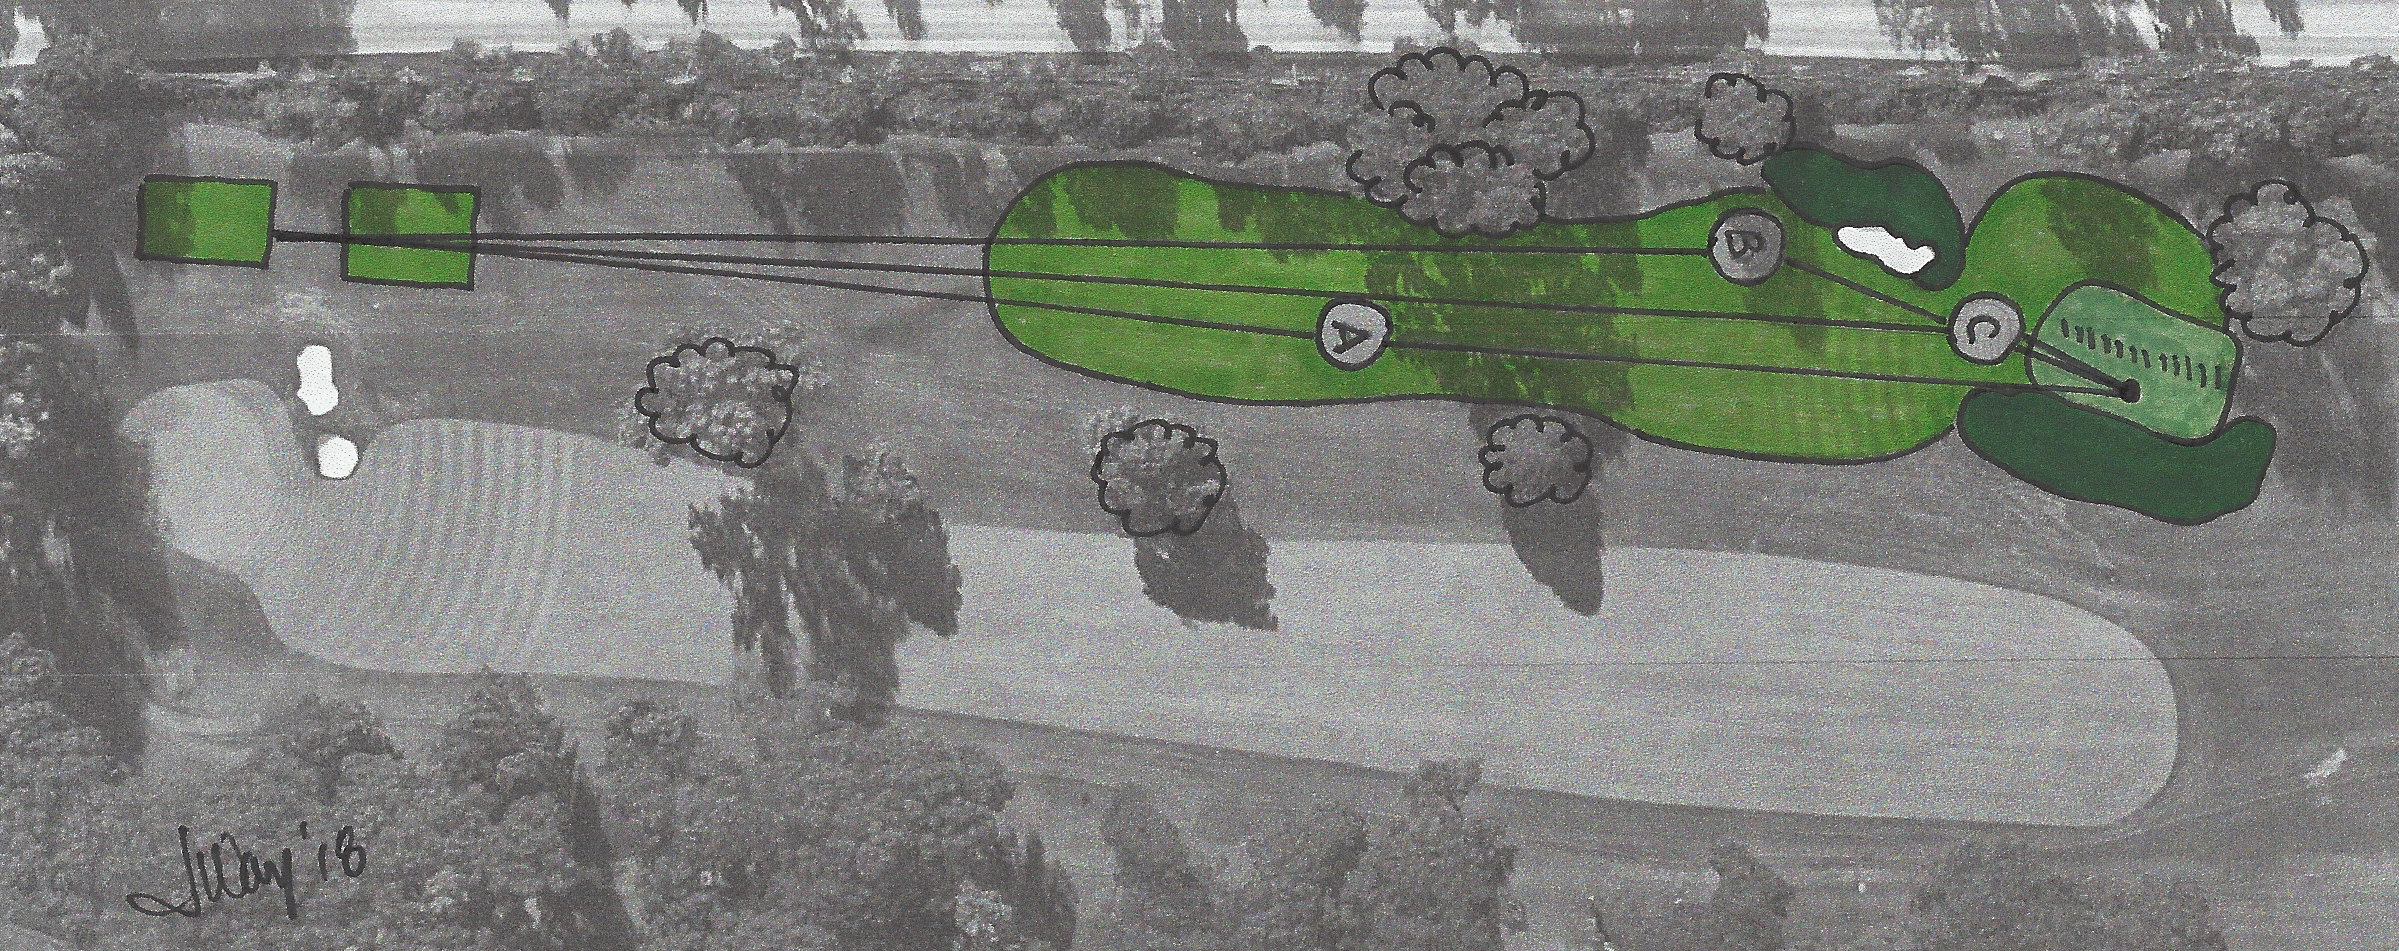
From the tee, the player has three options:
- Lay well back in the right two thirds of the fairway. Doing so takes the trees and fairway bunker out of play, and leaves a short iron into the green with a reasonable ability to access all pins, except the back right.
- Play short of the left fairway bunker, but beyond the trees that overhang the left third of the fairway. Distance and direction control are critical with this option. Hit it too short and the trees could block a high approach. Bail out right and an awkward approach distance at a bad angle over the large mound green right is the punishment. Successfully hitting this tee shot gains the player the ideal angle into all pins with a flip wedge in hand.
- Going for the green is a temptation that is hard to resist. It requires a straight or slightly faded drive that carries the left bunker or threads the needle between the bunker and mound right. Left is out of bounds and bailing out right brings the mound directly into play. That mound makes it nearly impossible to get a pitch near pins on the upper right tier.
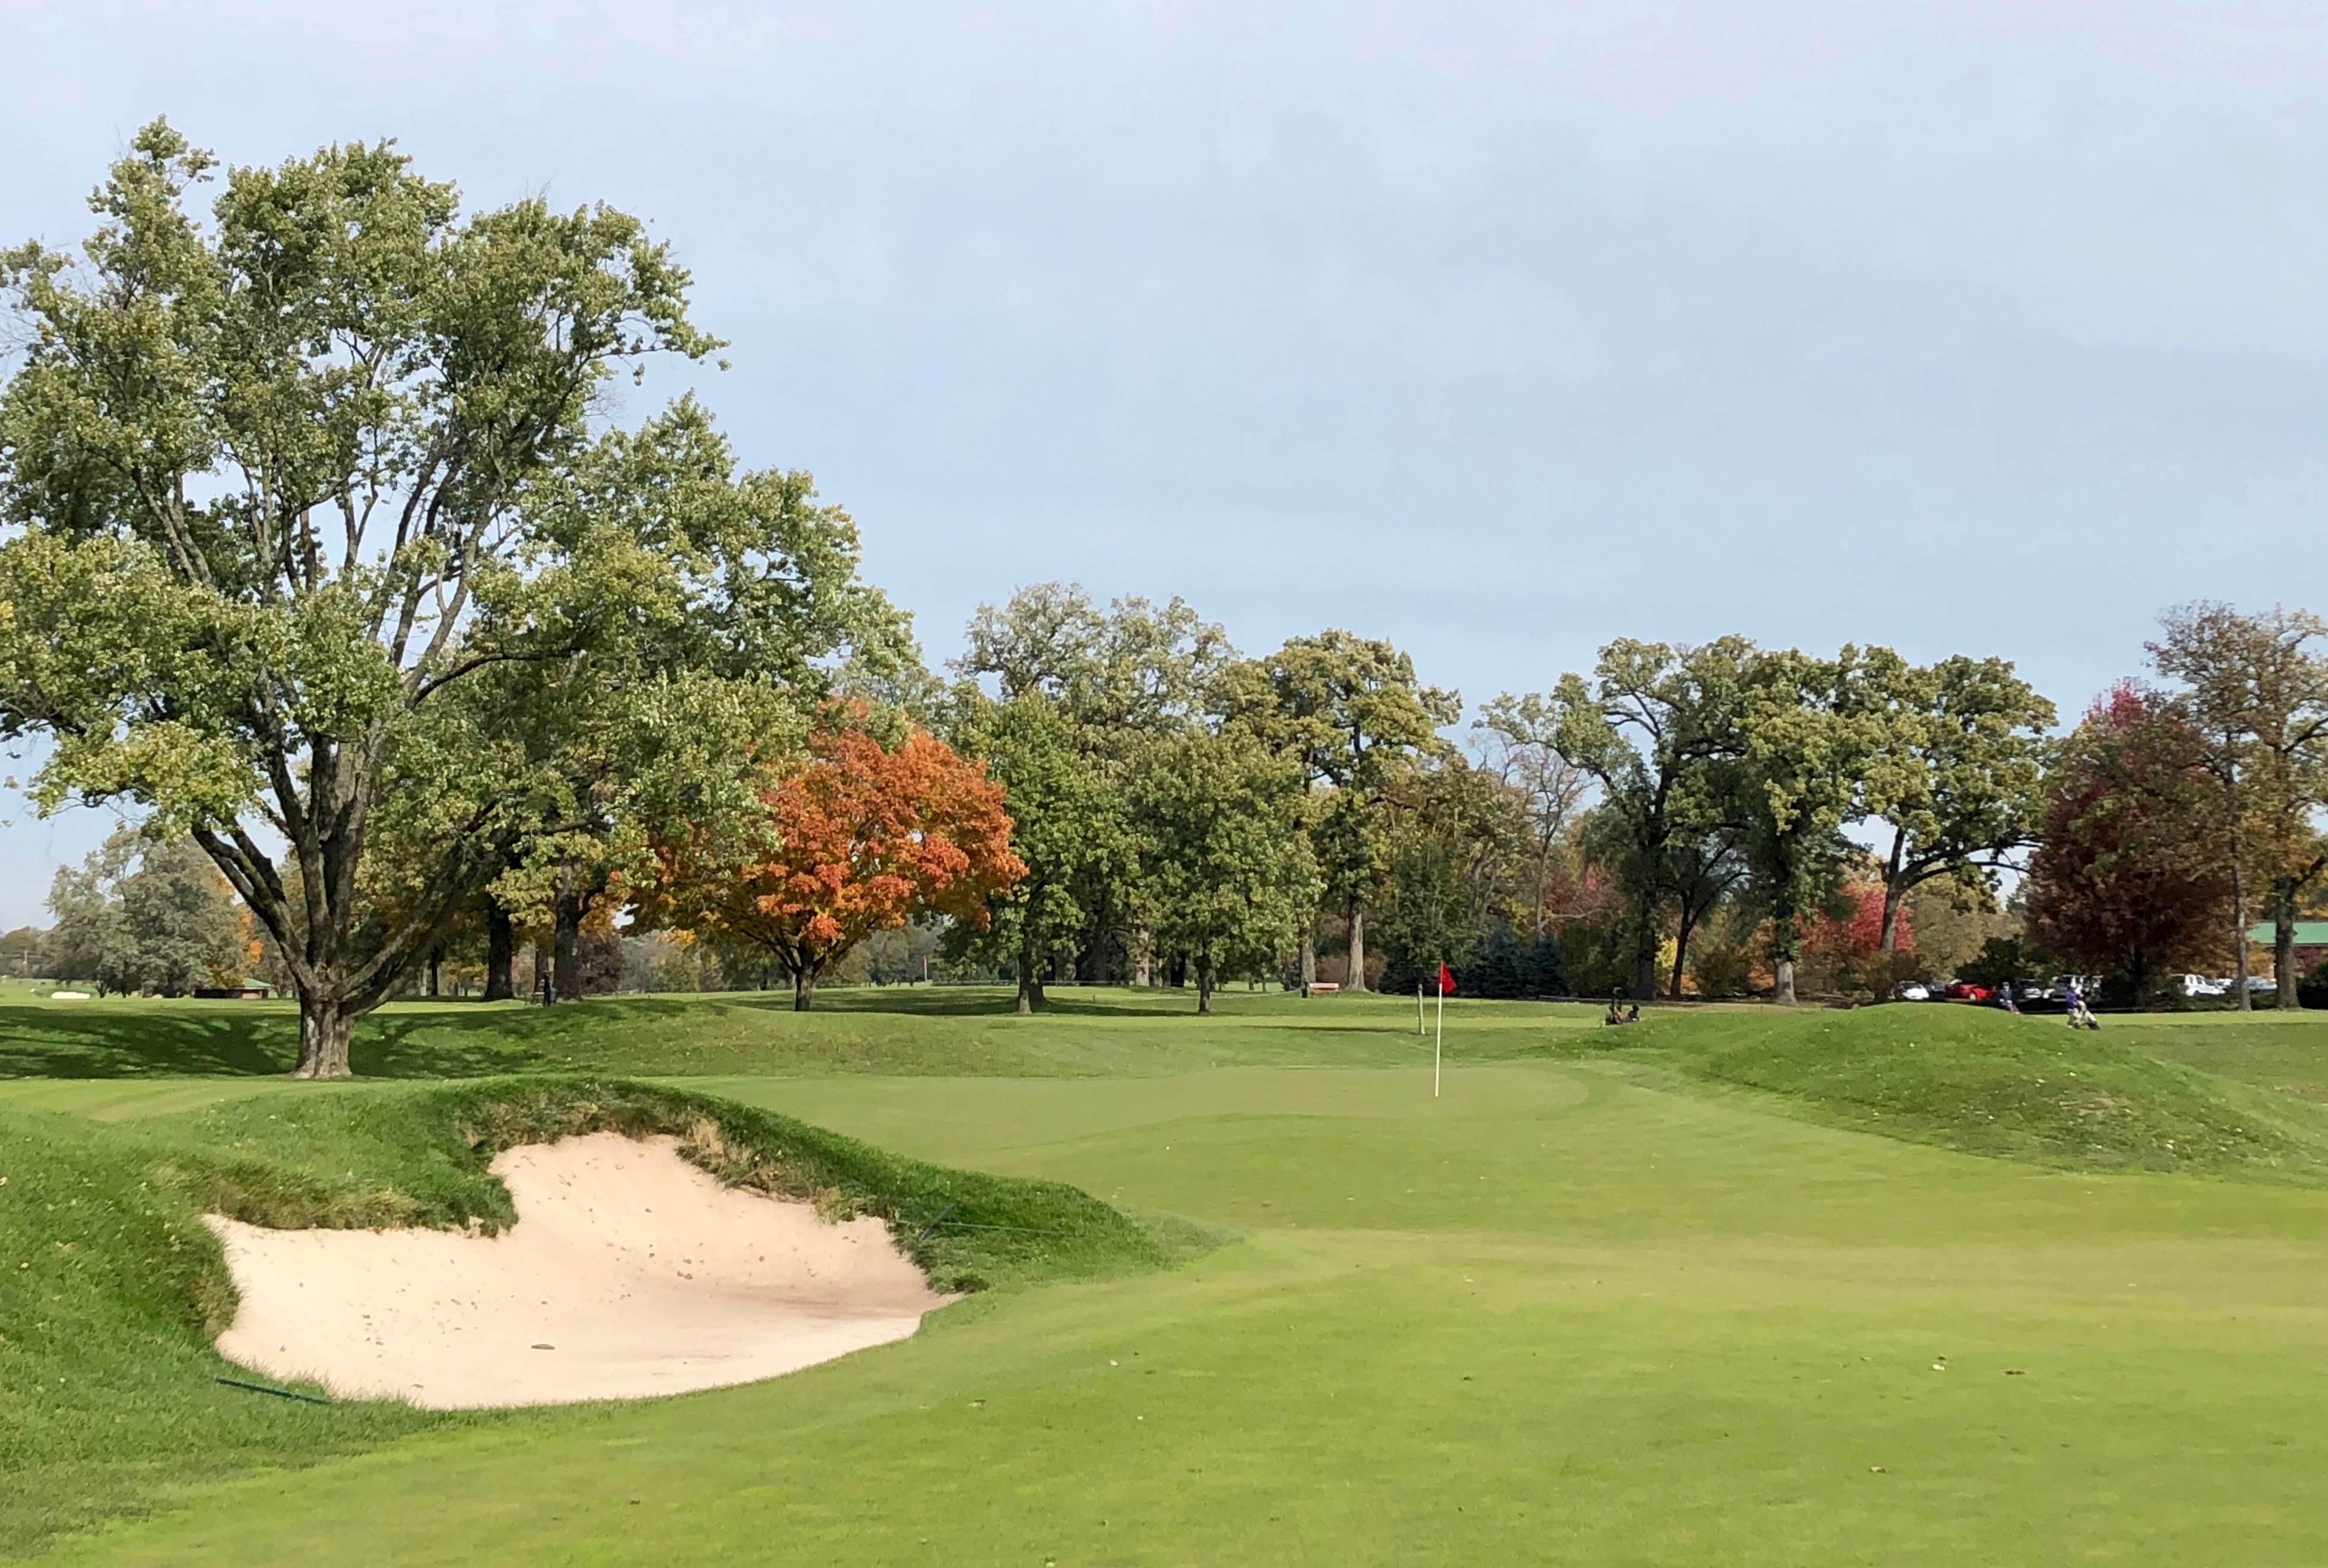
To have a good look at birdie, second shot approaches must be on the same tier as the pin. Approaching pins on the high right tier carries the additional risk of getting hung up on the mound if the player misses right. That spot is death for birdie chances, and most likely par saves too.
Therein lies the brilliance of the 13th at Medinah #1. All three routes from the tee provide the player with an opportunity for an easy par. If a player will settle for that easy par and execute, they will make a four almost every time. But the moment the player goes for a birdie, which requires aggressiveness with either the tee shot or the approach, bogey immediately comes into play. Short yardage, but tall on options and opportunities.
For golf fans who want to bring home a piece of this course, we offer a collection of Medinah #1 photography prints shot by the Fried Egg Golf team available in our Pro Shop.
